So, here’s what I’m thinking: I’m thinking that we have a serious problem at our house. Namely, we have way too many t-shirts. For some reason, we are in a season of the t-shirt glut (**full disclosure: that “some reason” is actually my husband who can’t, ever, pass up a good free t-shirt). Sometimes it feels like I’m living in a Robert Munsch book and I’m worried that one day all the t-shirts that are jammed beyond capacity in drawers and left unceremoniously in piles on the floor are going to join forces and potentially do me some t-shirt kind of harm. It’s that bad.
Now, I know what you’re going to say: just donate them, already! And I do. Oh I do! But you know, it occurred to me one day as I was trying to finagle yet another t-shirt into my husband’s already overflowing t-shirt drawer that I wasn’t satisfied with just donating them this time: I was going upcycle his shirts. I was going to use those t-shirts he never wore and re-fashion them into skirts for my daughter, and he’d never know love it!

So what’s upcycling anyway?
Upcyling is taking something that you no longer have any use for and would probably just throw away, and turning it into something you will use. Doing something as simple as taking a t-shirt and turning it into a skirt for your child to wear, even just for the summer, is one less piece of clothing that you will have to purchace. In the bigger picture, one less purchase means one less item that has to be manufactured, shipped, and stored. Each of these steps use up resources, energy, contribute to pollution, and all-to-often are produced shrouded by unethical work/wage practices. So, in essence, by upcycling even one item, you are helping to shrink your ecological footprint. There really is no such thing as too small an impact.
When I was a teenager, I went through this whole phase where I wore skirts I made out of vintage pillowcases. They took me literally 10 minutes to do and I decided I’d use the same principle, only using t-shirts instead. I prefer to keep things simple with any upcycle I attempt. As much as I love the tireless efforts others put into things, I am not one for tireless efforts. I like when projects use words like “quick” or “easy” or “anyone can do it!” or all three!! I think this skirt refashion really is all three. It’s quick, easy, done before your favourite TV show is over, and looks impossibly cute. Added bonus: it’s pretty cheap to make. I mean, this skirt is practically free: the only purchase I made was the elastic waist band, which I picked up at Fabricland and cost me a whopping $3 (enough for two skirts!). I'm so happy with the reults and can’t think of a better use for these unused, unneeded t-shirts than upcycling them them into a few flouncy skirts for my daughter, who adores all clothing that flutters and swishes and allows for a million little girl twirls.
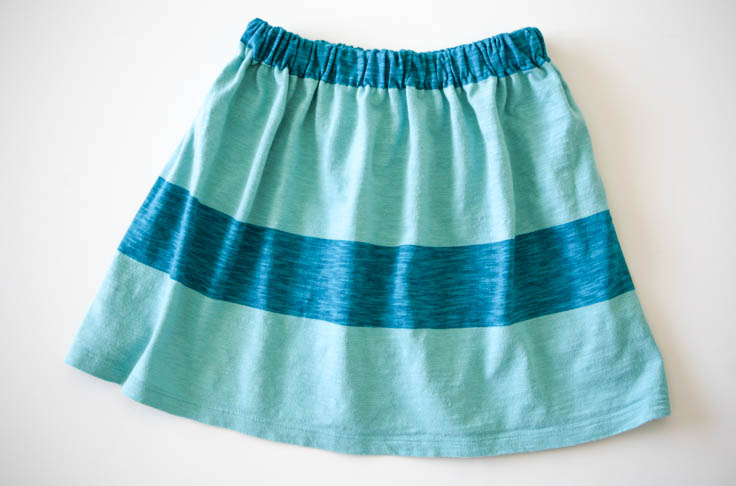
The quickest, easiest and cutest t-shirt skirt upcyle. Ever.
Here’s what you need:
- A sewing machine: you could stitch this by hand, but a sewing machine makes this so much easier
- A t-shirt: for a girl’s skirt, consider using a woman’s medium or larger. Keep in mind: the larger the t-shirt, the fuller the skirt. So if you want a final product that’s nice and flouncy, aim for a men’s Large or XL. (also, the t-shirt shouldn’t be a woman’s fitted one because the t-shirt isn’t boxy, it’s actually shaped and will drape weirdly as a skirt)
- 1” elastic: You could absolutely use 3/4" if you have. 1" just lays nicely. To determine how much you'll need, measure the circumference of the skirt wearer’s waist.
How to make the skirt:
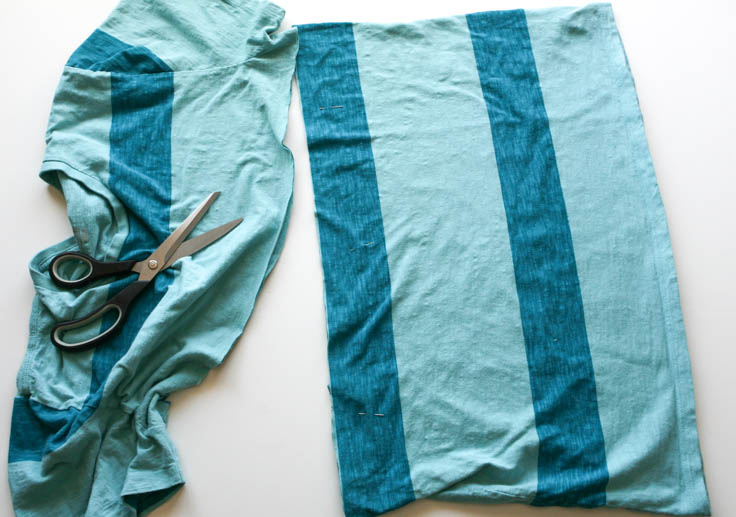
Lay the t-shirt out on a flat surface. Cut the t-shirt horizontally from armpit to armpit. (don’t get rid of the sleeves—they make great rags!). You might not need the entire length but it’s an easy way to get an overall view of how much you’ll have at your disposal.

Measure the wearer from the waist to the point you’d like the skirt to end at (typically somewhere just above the knee). Add 1.5” to that measurement to get your seam allowance (this is where your elastic will go).
Turn the t-shirt inside out, and line up the seams. Make sure the hem of the shirt is also lined up. Throw a few pins along the hem, just to make sure nothing moves when you’re fiddling around with the fabric. Cut the t-shirt, if need be, keeping in mind that the existing hem of the t-shirt will be the hem of the skirt, so cut from the raw edge only!
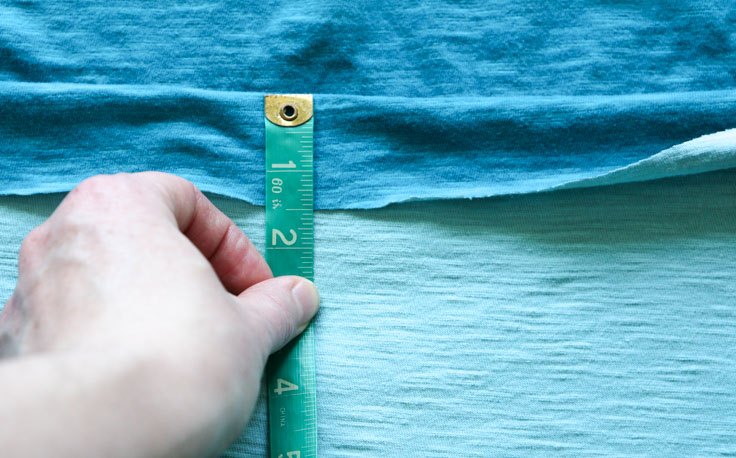
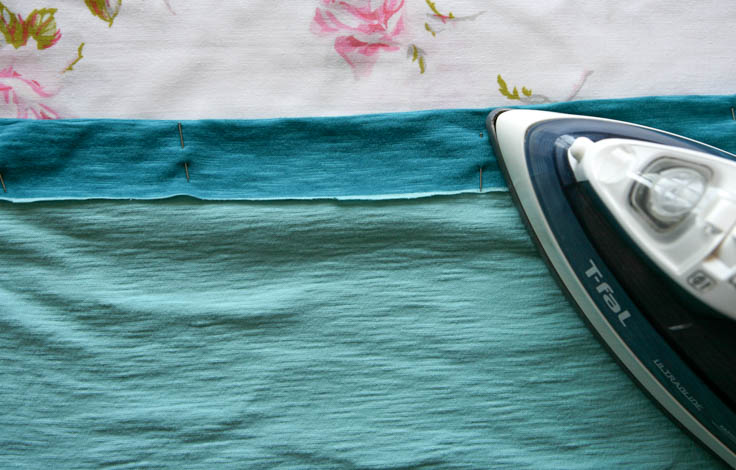
Now, at the top of the shirt, along the raw edge where you’ve cut the t-shirt, create a hem by folding over the cut end. You want your hem to be 1.5” all the way around so you can fit your elastic in there later. Press the fold to keep it nice and tidy. Pin.
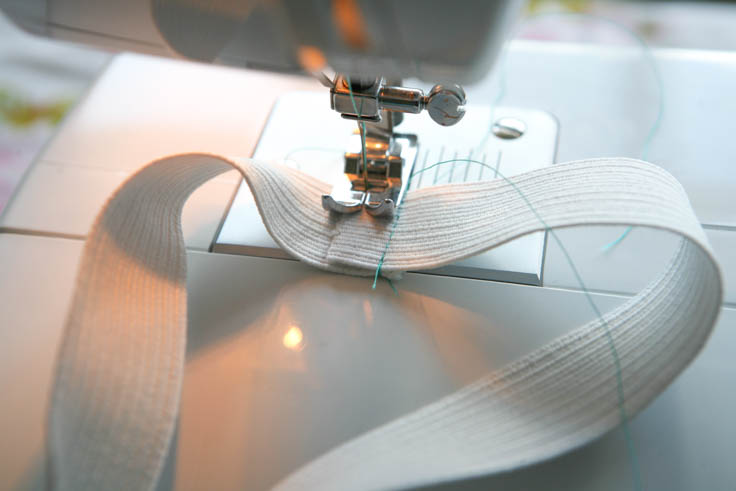
Starting at one of the sides, sew a straight stitch around the entire shirt, lining your presser foot up with the cut edge of your hem, leaving a 1 inch gap so you’ll have room to insert the elastic waist band.

Attach a safety pin or paper clip to your elastic, and use it to help you slide the elastic through the hem you’ve created.

Stitch the two ends of the elastic together, making sure the elastic is lying flat and not twisted anywhere.
Either by hand or with your sewing machine, stitch the 1” gap you left for the elastic closed.
Distribute the rushed fabric evenly around the elastic, give the skirt a quick press, and you’re done!
Now, sit back, survey your mad seamstress skills and feel awesome about your shrinking ecological footprint. You just upcycled something!